Okta Configuration Guide for Semplates
Contents
- Supported Features
- Requirements
- Configuration Steps
- Additional Features
- Conclusion
Supported Features
- Single Sign-On (SSO) initiated via Okta.
- Note: Semplates does not automatically create user accounts through Okta SSO. Accounts must pre-exist within an organization.
Requirements
- Install the Semplates application in your Okta instance.
- Semplates Okta SSO integration is only available for accounts on the Business and Enterprise plans.
- Ensure that the email addresses of Semplates members match their Okta accounts.
Configuration Steps
After Installing Semplates Application in Okta
Gather Information from Okta
- In the Okta admin page, click on the Semplates application.
- Navigate to the 'Sign On' tab.
- Copy the values of 'Client ID' and 'Client Secret'.
- In the 'OpenID Provider Metadata' section, click the link provided. In the JSON document, locate the key titled “issuer” and copy the URL-value.
Contact Semplates Support
Send the following information to support@semplates.io:
- Client ID
- Client Secret
- Issuer URL
- Name of your Company
We will get back to you as soon as we have integrated your Okta integration.
Once this is done, your users can sign in into Semplates by clicking the Tile in their Okta Dashboard. Please note, popups need to be enabled in your browser settings, in order for for the sign in flow to work.
Additional Features
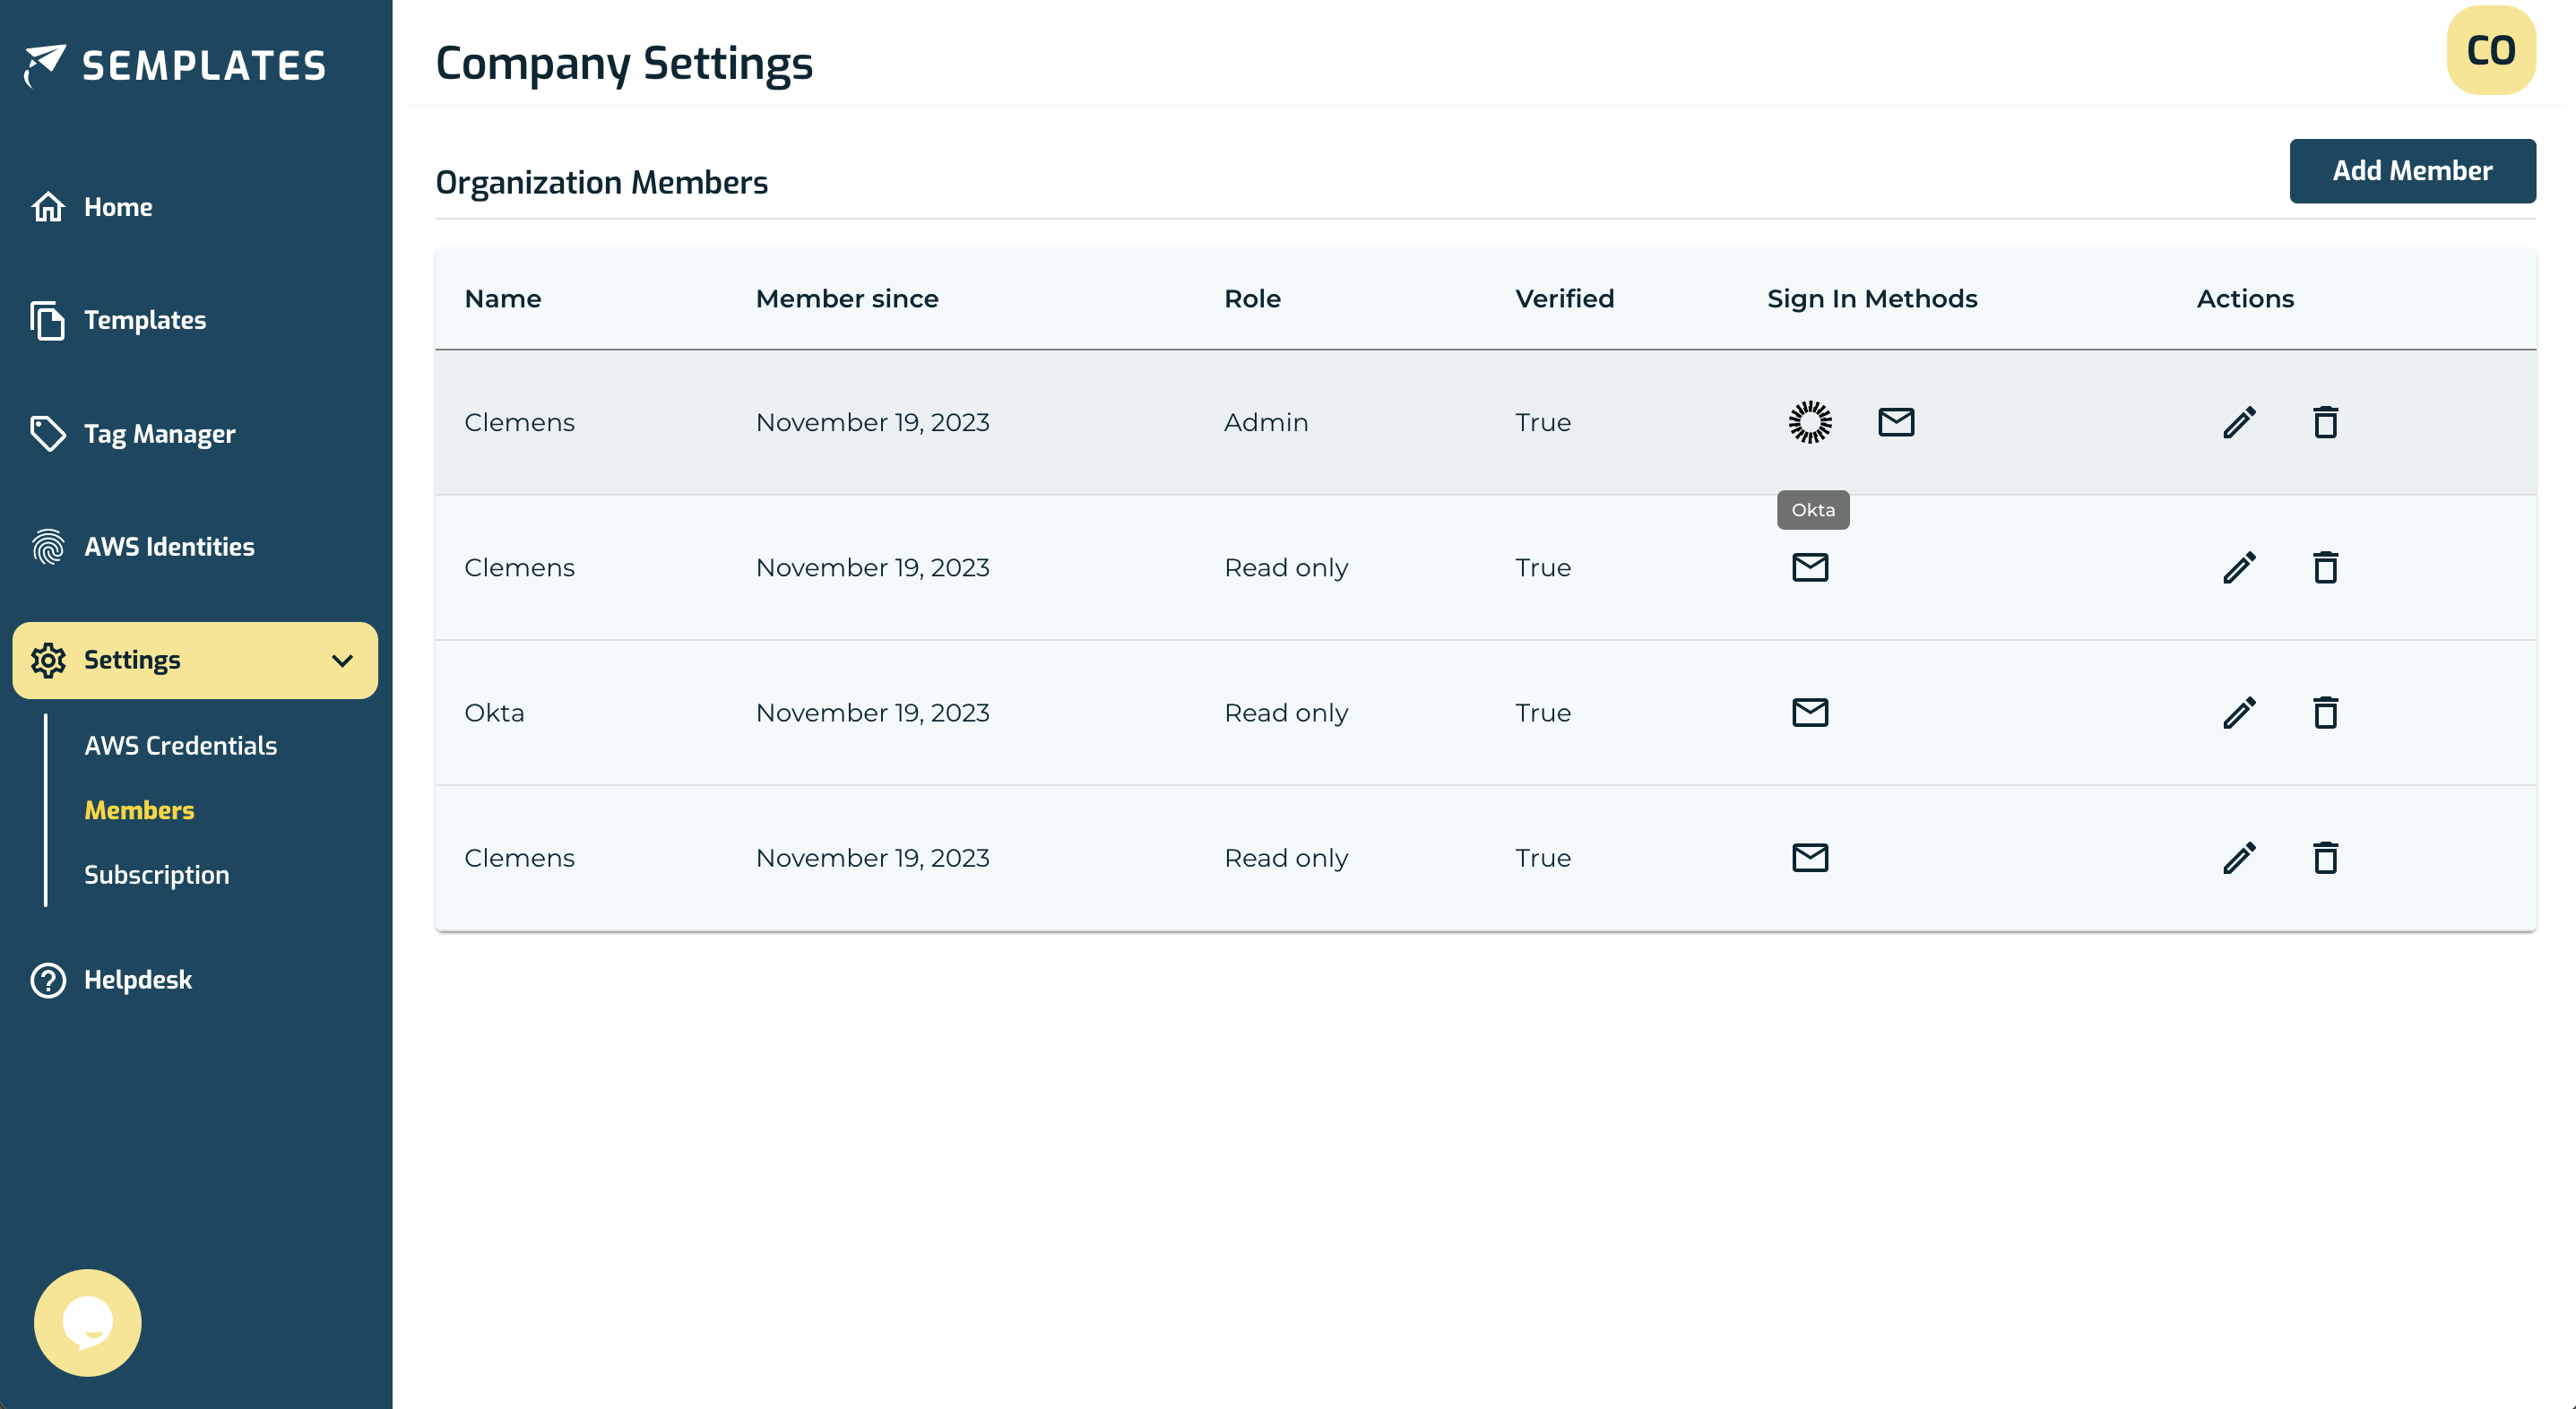
Review Sign-In Options as an Admin
- Go to
Settings > Membersin Semplates to review the sign-in methods for each user.
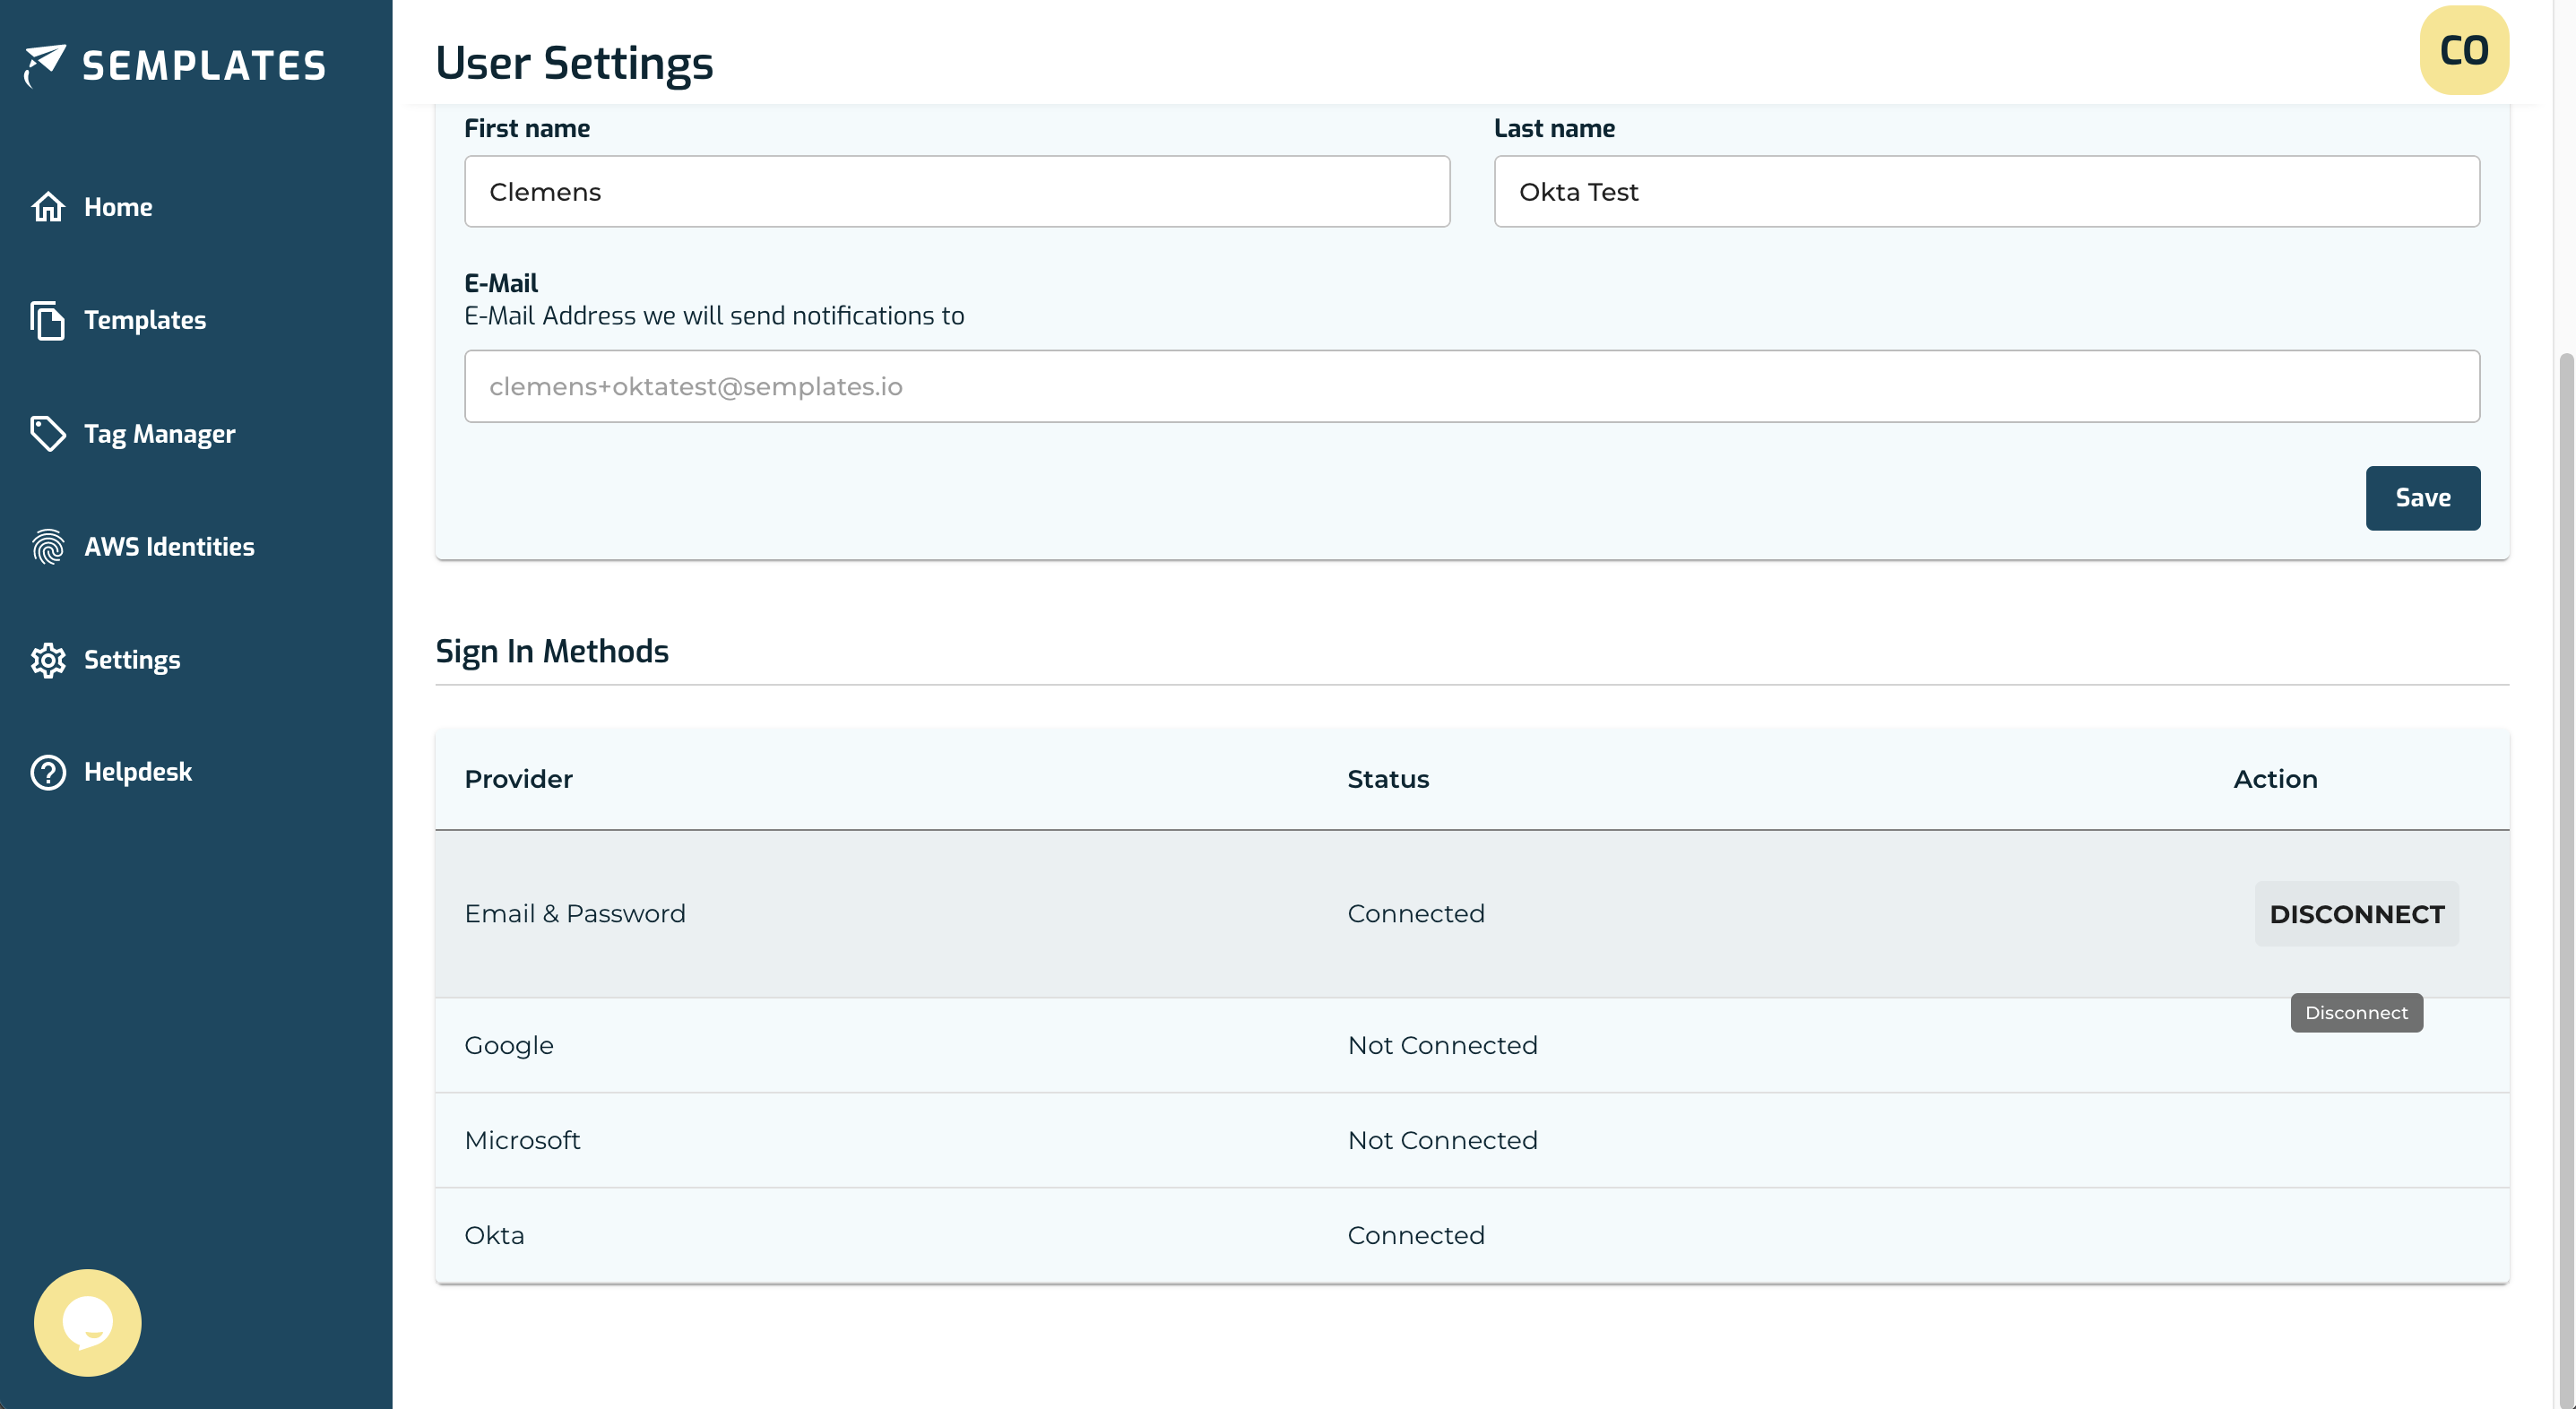
Unlink Sign-In Options as a User
- Users can navigate to
User Settings > Sign In Methodsin Semplates to unlink any sign-in method other than Okta.
Conclusion
This guide outlines the steps for integrating Okta with Semplates, ensuring a secure and efficient sign-on process for your organization. For assistance, contact support@semplates.io.